
Short Answer
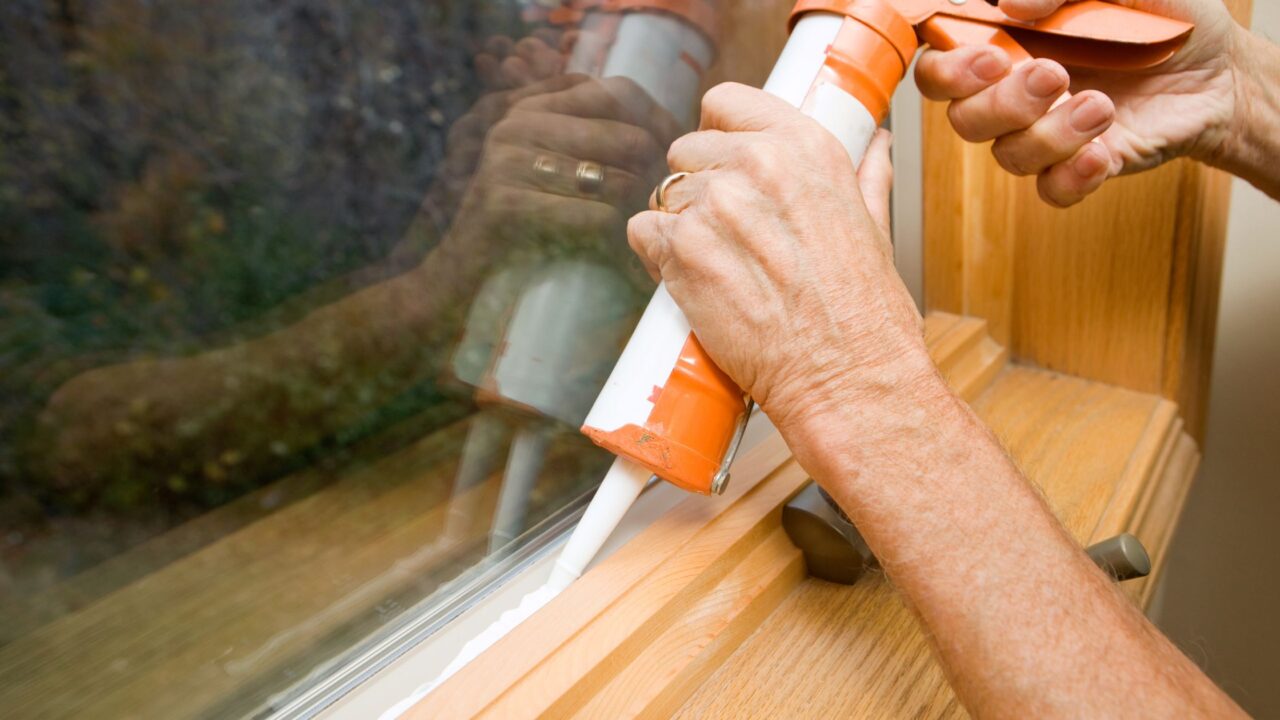
Use a paintable acrylic latex caulk, cut the tip small (about 1/8 inch), and run a thin, steady bead along the top of the baseboard and the outside edges of the casing. Smooth it right away with a damp finger or rag, wipe off the extra, and let it dry before you paint. Thin beads look better than fat ones, and gaps bigger than about 1/4 inch need filling or backer rod first.
This box contains affiliate links. As an Amazon Associate I earn from qualifying purchases. See the affiliate note at the bottom of this post.
🧰 What You’ll Need
What I Use:
The caulk I use for trim gaps and corners before painting. It’s paintable, cleans up with water, and smooths out easily.
Check price →
For scraping out old, cracked caulk and lifting off dried blobs without gouging the trim.
Check price →
For the nail holes in the trim. Caulk is for gaps, not holes, so I fill those separately.
Check price →
Helpful Picks: these are well-reviewed options, not my personal picks.
Caulking is the step that makes painted trim look finished. A gap between the baseboard and the wall shows up as a dark shadow line, and no amount of paint hides it. A clean bead of caulk closes it up so the trim and wall look like they belong together. It’s also one of the easiest jobs to mess up, mostly by using too much. Here’s how I do it.
Where to Caulk (and Where Not To)
Caulk these
- The top edge of baseboards, where the board meets the wall.
- The outside edge of door and window casing, where it meets the wall.
- Inside corners and miter joints that have opened up a little.
- Crown molding, along both the wall and ceiling edges.
- Where casing meets the jamb, if there’s a visible gap.
Skip these
- The bottom of the baseboard against a hardwood or tile floor. That joint moves, and the caulk line usually cracks and looks worse than the gap did. Carpet just needs the baseboard painted, not caulked.
- Stained or clear-finished wood trim. White paintable caulk on stained trim stands out. If you need to close a gap there, use a colored caulk or wood filler that matches the stain.
- Nail holes and dents. Caulk shrinks and stays soft. Use spackle or wood filler for holes, then sand it flush.
- Anything that needs to open. Don’t caulk window sashes shut or bridge a door to its stop.
Picking the Right Caulk
For interior trim you want paintable acrylic latex caulk, often sold as “painter’s caulk” or “acrylic latex plus silicone.” It cleans up with water, smooths easily and takes paint.
Don’t use 100% silicone on trim you plan to paint. Paint won’t stick to it, and it’s a pain to remove later. Silicone belongs in tubs, showers and sinks, not on baseboards. If you’re working in a bathroom, here’s what to know about bathroom paint and moisture.
Read the tube for two numbers: how long until it’s paint-ready and the temperature range. DAP’s technical data sheet for Alex Plus, a common one, lists it as paintable in about 30 minutes, with about 10 minutes of working time, applied between 40°F and 100°F. It also notes that cool, humid conditions slow drying, which describes a lot of Northeast Ohio basements and back rooms in November. When in doubt, give it longer.
How to Caulk Trim and Baseboards, Step by Step
1. Clean and prep the gap
Vacuum the top of the baseboard and wipe it with a damp rag. Caulk won’t stick to dust. Scrape out any old caulk that’s cracked or pulling away with a putty knife. If the old caulk is solid, you can caulk right over it.
If your house was built before 1978, the paint on the trim may contain lead. Don’t dry-sand or heat-gun old painted trim. Scrape gently, mist with water and clean up with a wet rag. The EPA has a page on lead-safe work for do-it-yourselfers worth reading first.
2. Fill big gaps first
Caulk is meant for small gaps. Somewhere around 1/4 inch or less is where it works best on trim. DAP’s data sheet says joints for that product shouldn’t go over 1/2 inch wide or deep, and to use backer rod if a gap is deeper than that.
For a deep gap, push foam backer rod in so it sits a little below the surface, then caulk over it. For a wide gap, do two passes: a first bead to fill, let it dry, then a second thin bead to finish. One huge bead will sag, shrink and crack.
3. Cut the tip small
Cut the nozzle at an angle with a utility knife, close to the end. You want an opening about 1/8 inch across. You can always cut more off, but you can’t put it back. Poke the inner seal with the wire on your caulk gun or a long nail.
4. Run a steady bead
Hold the gun at about a 45-degree angle and push or pull it along the joint at a steady pace with even trigger pressure. Work in sections of 3 to 4 feet, so you can smooth each section before it starts to skin over. Release the trigger (and the pressure, if your gun isn’t dripless) at the end of each run so it doesn’t keep oozing.
5. Smooth it right away
Run a damp fingertip along the bead with light pressure. That presses the caulk into the gap and leaves a smooth, slightly concave line. Wipe your finger on a damp rag often. If too much caulk builds up ahead of your finger, wipe it off instead of spreading it around. Then wipe the wall and trim faces lightly with a damp rag or sponge to take off any smear.
A smear you leave now will show through the paint as a shiny, raised edge. This is the step that separates a clean job from a messy one.
6. Let it dry, then paint
Wait the time on the tube before painting, and longer in a cold or damp room. Painting too soon can crack the paint over the bead or leave it looking wrinkled. Once it’s dry, look it over with a flashlight held flat to the wall. Touch up any missed spots, let those dry, then paint. Here’s my full guide to painting trim and baseboards for the next step.
Should You Use Tape?
You can. Run painter’s tape on the wall and the trim on both sides of the joint, caulk, smooth it, and pull the tape right away while the caulk is still wet. It gives a crisp line, and it’s handy on a long, visible run like crown molding. For most baseboards, I skip the tape. A small bead and a damp rag get a clean line faster.
Time and Difficulty
- Time: For one average bedroom of baseboards and door casing, plan on about an hour or two of caulking, plus drying time before paint. More if you’re scraping out old caulk.
- Difficulty: Easy to moderate. Your first few feet won’t be perfect. Start in a closet or behind a door until you get the feel for it.
- Tools: Caulk gun, paintable caulk, utility knife, putty knife, damp rags, a bucket of water. Backer rod for deep gaps.
Common Mistakes
- Cutting the tip too big. This is the most common one. A big tip lays down way more caulk than the gap needs.
- Not smoothing it, or smoothing too late after it’s started to skin over.
- Using silicone on trim you want to paint.
- Filling a big gap in one pass. It sags and cracks as it shrinks.
- Caulking dusty or wet surfaces.
- Using caulk to fill nail holes.
- Painting before it’s dry.
Why Does Caulk Crack Between Trim and Wall?
A little cracking over the years is normal. Houses move as the seasons change, and in Northeast Ohio, with dry heated air in winter and humid summers, trim and walls shift slightly. Cracks also show up when a bead was too thick, put in a gap that was too wide, or painted before it dried. If a gap keeps reopening in the same spot, check whether the trim is loose. A couple of finish nails into the wall plate or a stud often fixes it. Then recaulk.
A gap that keeps getting wider, or trim pulling away along with cracks in the drywall above it, can mean something else is moving. That’s worth having someone look at. Here’s how I tell hairline cracks from structural ones in plaster.
DIY or Call a Guy?
DIY it if you’re painting a room yourself and the gaps are small. Caulking trim is cheap, it’s forgiving because it cleans up with water, and it makes a bigger difference to the finished look than almost anything else you can do before painting.
Call someone if you’re doing a whole house of trim, there’s a lot of old caulk and paint to scrape out (especially in a pre-1978 home), the trim is loose or pulling away, or you just want the paint job done start to finish. If you’re on the fence, here’s how I’d think about whether to DIY or hire a painter, and how to prep your home for a painter.
Local to Euclid or Cleveland’s east side? I caulk trim and baseboards myself, as its own small job or as part of painting a room. See my Caulking Services in Euclid & Cleveland page or my Painting Services page, or text me a photo at 216-800-5883.
FAQ
Should I caulk baseboards before or after painting?
Before the final coats. Caulk the gaps, let it dry, then paint the trim. If you’re painting the walls too, caulk first, paint the walls, then paint the trim.
What’s the best caulk for baseboards?
A paintable acrylic latex caulk, often labeled painter’s caulk or acrylic latex plus silicone. Avoid 100% silicone on trim you plan to paint.
How big a gap can caulk fill?
On trim, it works best on gaps of about 1/4 inch or less. Deeper gaps need backer rod first, and wide ones should be filled in two thin passes instead of one big bead.
Should I caulk where the baseboard meets the floor?
Usually not on hardwood or tile. That joint moves, and the caulk tends to crack. Shoe molding or quarter round is the cleaner fix for a gap at the floor.
Why is my caulk cracking after I painted over it?
Most often it was painted before it dried, the bead was too thick, or the trim is loose and moving. Scrape out the cracked section, secure the trim if needed, recaulk thin and let it dry fully before painting.

Scan to join our Loyalty Program, get a free coupon for your next service, and stay up to date on our services and articles.
Affiliate Note
Some of the links in this article are affiliate links. That simply means if you choose to buy through them, I may earn a small commission at no extra cost to you. As an Amazon Associate I earn from qualifying purchases. I only recommend products I trust and would feel comfortable installing in my own home or a client’s home.
If you try something I recommended and it turns out to be anything less than a five-star experience, please let me know. I always want these recommendations to be genuinely helpful.