
Short Answer
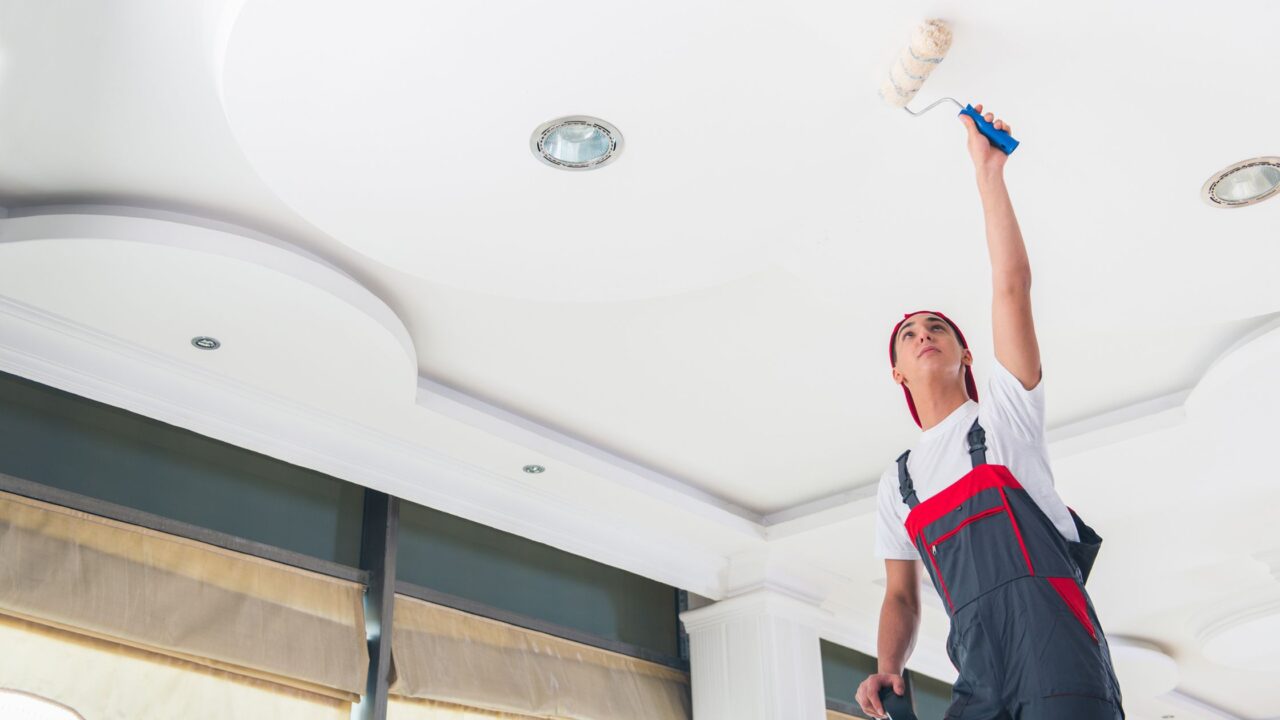
Use a flat ceiling paint, a good roller cover on an extension pole, and don’t let the paint start drying at the edges. Cut in one section at a time, roll right up to that cut line while it’s still wet, and finish every section with light strokes in the same direction. Most streaks come from a roller that’s too dry or paint that’s started to set; most drips come from a roller that’s overloaded.
This box contains affiliate links. As an Amazon Associate I earn from qualifying purchases. See the affiliate note at the bottom of this post.
🧰 What You’ll Need
What I Use:
The single biggest upgrade for ceilings. You stand on the floor, you can see the whole section you’re rolling, and you get even pressure instead of reaching over your head from a ladder.
Check price →
A good cover holds more paint and lets it off evenly, which is most of the battle against streaks. Cheap covers shed lint into a white ceiling where you’ll see every fiber.
Check price →
For cutting in along the walls and around light fixtures. The short handle is easy to control when you’re up on a step ladder.
Check price →
Ceilings drip and spatter more than anything else you’ll paint. I lay plastic first and fabric on top. More on why below.
Plastic drop cloth →Fabric drop cloth →
Helpful Picks: these are well-reviewed options, not my personal picks.
Why Ceilings Are Harder Than Walls
You’re working upside down, gravity is pulling the paint back at you, and the light hits a ceiling at a low angle from the windows and fixtures. That low light is what makes every lap mark, thin spot, and roller edge show up after it dries. Walls hide a lot more.
The good news is that almost every ceiling problem comes from a short list of causes: the wrong paint, a roller that’s too dry or too loaded, and paint that starts drying before you’ve rolled back into it. Fix those and ceilings get a lot less frustrating.
Before You Start: Check the Ceiling
Water stains. A brown ring means water got in at some point. Find out whether the leak is fixed before you cover it up. Then spot-prime it with a stain-blocking primer. Regular paint, even two coats, usually lets those stains bleed right back through.
Cracks and patches. Older plaster ceilings around Euclid and the Heights often have hairline cracks. Fill them, sand smooth, and prime the repairs. Unprimed patches soak up paint differently and show as dull spots, the same problem I cover in why drywall seams show through paint.
Popcorn or textured ceilings. If the texture went up before the late 1970s, don’t scrape or sand it until you know what’s in it. The CPSC notes that asbestos may be present in textured paint and ceiling patching compounds, which were banned in 1977, and you can’t tell by looking. You can usually paint over popcorn that’s in good shape, but use a thick nap, go light, and don’t go back and forth over it, because a wet roller can pull the texture loose.
Peeling paint in an older house. Homes built before 1978 may have lead paint under the newer layers. Don’t scrape or sand flaking ceiling paint until you’ve tested. The EPA has a good page on lead-safe work for do-it-yourselfers.
Pick the Right Paint and Roller
Paint
For most rooms, use a flat ceiling paint. Flat has almost no shine, so it hides small dents, seams, and roller marks better than anything else. Ceiling paints are also usually made to spatter less. Here’s more on when flat and matte make sense.
Bathrooms are the exception. They get steam, so you want something that handles moisture. I went through that in the best sheen for bathroom ceilings.
If you’re repainting white over white, a ceiling paint that goes on tinted and dries white helps a lot. It’s hard to see where you’ve been on a white ceiling, and that’s how people end up with thin stripes. I get my paint through my Sherwin-Williams rep, but any good paint store will have a ceiling paint. This is not the place to use leftover wall paint with a sheen.
Roller
A 9-inch roller on an extension pole is the standard setup. For a smooth drywall ceiling, a 3/8-inch nap works well. For light texture or older plaster with some character, go up to 1/2-inch. Heavy texture or popcorn needs a thicker nap. If you’re unsure, I wrote a full guide on choosing the right roller cover nap.
Before you use a new cover, wrap it with painter’s tape and pull it off a couple of times to grab the loose lint. Lint on a white ceiling is hard to miss.
Prep the Room
- Clear the room or move everything to the center and cover it.
- Cover the floor completely. I put a plastic drop cloth down first and a fabric one on top. I started doing that after paint soaked through a fabric cloth once and stained a customer’s carpet. With ceilings, the spatter lands everywhere, so cover more floor than you think you need.
- Deal with fixtures. Turn off the power at the breaker, then loosen light fixture canopies and drop them a little, or tape them off. Take down smoke detectors or cover them with a bag while you work, and never paint over one. Put them back up when you’re done.
- Turn off the ceiling fan and keep strong drafts off the ceiling. In winter, a heat register blowing straight up dries the paint faster and makes lap marks more likely.
- Wear a hat and safety glasses. Rolling overhead means paint flecks come down at your face.
If you’re painting the whole room, do the ceiling first, then the walls, then the trim. Here’s why that order works.
How to Paint a Ceiling Step by Step
1. Cut in one section at a time
Brush a band about 2 to 3 inches wide where the ceiling meets the wall and around fixtures. Here’s the part most people skip: don’t cut in the whole room first. If you do, that band dries before you roll next to it, and you’ll see a picture frame around the ceiling when it’s done. That’s called flashing. Instead, cut in along one wall, then roll that area right away while the cut line is still wet.
2. Load the roller evenly
Roll the cover into the paint in a tray or bucket with a grid, then roll it back and forth on the ridges until it’s evenly loaded but not dripping. Too little paint and you’ll press hard, which leaves thin streaks and ridges at the roller ends. Too much and it drips and spatters.
3. Roll in small sections
Work in sections about 4 feet square. Start a few inches from the last section and roll a loose zigzag to spread the paint, then fill it in without lifting the roller. Let the roller do the work; you shouldn’t have to push.
4. Lay it off in one direction
Once a section is covered, finish it with light, overlapping passes all in the same direction, from wet paint into wet paint. Ease off the pressure at the end of each pass so you don’t leave a line. Every section should be finished the same way so the texture of the paint lines up.
5. Keep a wet edge
Move across the room in a steady path, always rolling the new section back into the edge of the one before it while it’s still wet. Don’t stop in the middle of the ceiling to take a break. If you have to stop, stop at a corner or edge. Rolling into paint that’s already half dry is what causes most lap marks.
6. Don’t go back
Once a section starts to set, leave it alone. Touching up a spot you missed while it’s tacky leaves a rough patch that shows. Catch it on the second coat instead.
7. Second coat
Let the first coat dry as long as the can says. Look at the ceiling with the lights on and the blinds open, from different spots in the room. Many painters roll the second coat at a right angle to the first, which helps fill any thin lines. Most ceilings look best with two coats, especially when you’re changing color or covering stains.
How to Fix Streaks, Flashing, and Drips
- Streaks and lap marks: almost always thin paint or rolling into drying paint. Another full coat, rolled wall to wall with a wet edge, is the fix. Spot touch-ups on a ceiling usually make it worse.
- Flashing around the edges: the cut-in band dried at a different rate. Recoat the whole ceiling, cutting in and rolling one wall at a time.
- Drips and runs: if they’re wet, brush them out. If they’ve dried, sand them flush lightly once they’ve cured, wipe off the dust, and roll over the area as part of a full coat.
- Roller ridges: you’re pressing too hard or the cover is overloaded. Lighter pressure, and roll the cover on the grid more.
Time and Difficulty
Difficulty: moderate. The technique isn’t complicated, but it’s tiring on the neck and shoulders, and it takes some patience to work in a steady pattern.
Time: for a typical bedroom, plan on a few hours for prep, cutting in, and the first coat, then a second coat after it dries. It’s a one-day job for most people. Big rooms, high ceilings, stains, and texture all add time. For how a ceiling fits into a whole room, see how long it takes to paint a room yourself.
Common Mistakes
- Cutting in the whole room first, then rolling, which leaves a frame around the edges.
- Using wall paint with a sheen, which shows every roller mark.
- Pressing hard on a dry roller to stretch the paint.
- Painting over water stains without a stain-blocking primer.
- Stopping in the middle of the ceiling.
- Going back over areas that have started to dry.
- Scraping or sanding an old popcorn ceiling without knowing what’s in it.
DIY or Call a Guy?
DIY it if it’s a normal-height ceiling in good shape, you’re comfortable on a step ladder, and you don’t mind sore shoulders the next day. With an extension pole and the steps above, most people can get a clean result.
Call someone if the ceiling is high or over a stairway, there are water stains you can’t explain, there’s a lot of crack repair, or the room is full of furniture you can’t move. If there’s an old popcorn ceiling you want gone, that’s not a paint job: have it tested first and use a qualified asbestos professional if it comes back positive. If you’re on the fence, here’s my take on whether to DIY or hire a painter, and if you hire it out, how to prep your home for a painter. Doing the rest of the room too? See how to paint trim and baseboards.
Local to Euclid or Cleveland’s east side? I paint ceilings myself. See my Painting Services in Euclid & Cleveland page, or text me a photo at 216-800-5883.
FAQ
Should I paint the ceiling or walls first?
Ceiling first. Drips and spatter land on the walls, and you’ll cover them when you paint the walls.
Why does my ceiling look streaky after it dried?
Usually thin coverage or rolling into paint that had started to dry. A full second coat with a well-loaded roller and a wet edge fixes most of it.
Which direction should I roll a ceiling?
Pick one direction and finish every section the same way. Many painters roll the second coat at a right angle to the first.
Do I need primer to paint a ceiling?
Not usually for a repaint over sound paint. Prime new drywall, patches, and any stains with a stain-blocking primer.
Can I paint a popcorn ceiling?
Yes, if it’s in good shape, using a thick nap and light passes. If it’s from before the late 1970s, don’t scrape or sand it until it’s been tested for asbestos.

Scan to join our Loyalty Program, get a free coupon for your next service, and stay up to date on our services and articles.
Affiliate Note
Some of the links in this article are affiliate links. That simply means if you choose to buy through them, I may earn a small commission at no extra cost to you. As an Amazon Associate I earn from qualifying purchases. I only recommend products I trust and would feel comfortable installing in my own home or a client’s home.
If you try something I recommended and it turns out to be anything less than a five-star experience, please let me know. I always want these recommendations to be genuinely helpful.