
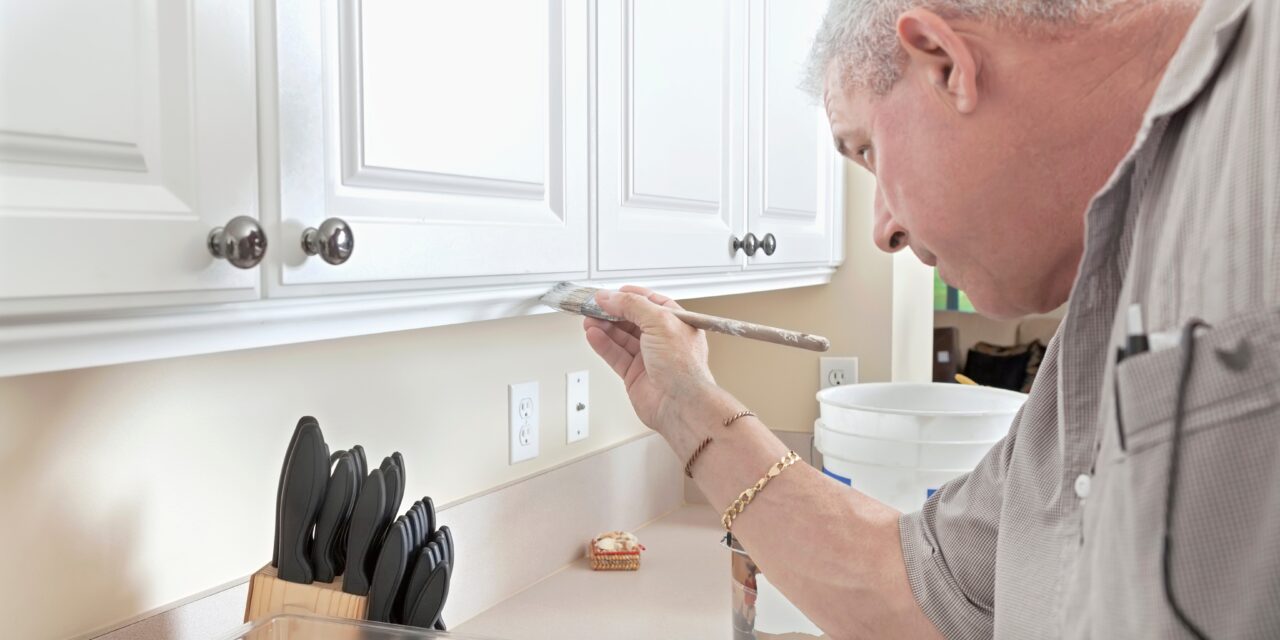
Short Answer
Take the doors and drawers off, degrease everything, scuff-sand, prime with a bonding primer, then brush and roll two thin coats of a cabinet-grade enamel. Give it time: paint can feel dry in hours but takes weeks to fully harden. Skip paint altogether if the boxes are water-damaged or falling apart, if the doors are thermofoil or peeling laminate, or if you’d really rather have a different cabinet style. Paint changes the color, not the layout or the quality.
This box contains affiliate links. As an Amazon Associate I earn from qualifying purchases. See the affiliate note at the bottom of this post.
🧰 What You’ll Need
What I Use:
The short handle makes it easy to control on face frames, door edges and the inside corners of raised panels.
Check price →
For the flat parts of doors and cabinet sides. Pick a short nap for smooth cabinet surfaces.
Check price →
I layer both. Plastic underneath stops anything that soaks through; fabric on top keeps you from slipping. Here’s the plastic and the fabric one I use.
Helpful Picks: these are well-reviewed, generic options, not my personal picks.
Last updated: November 2026
First, Decide If Your Cabinets Are Worth Painting
Painting cabinets is a good deal when the boxes and doors are solid and you just hate the color or the dated wood tone. It’s a bad deal when you’re putting a lot of hours into cabinets that have other problems.
Paint makes sense when:
- The cabinet boxes are solid wood or plywood and in good shape.
- The doors are solid wood or MDF and close properly.
- You like the layout and the door style, and only the finish bothers you.
Think twice, or skip it, when:
- The sink base is swollen or soft. Particleboard that’s soaked up water won’t take paint well and won’t get stronger. Fix the leak and the cabinet first.
- The doors are thermofoil (a vinyl skin over MDF, common on smooth white doors). If it’s peeling, paint won’t fix it. If it’s intact, it needs special primer and still may not hold up near heat.
- The laminate is lifting on edges or corners.
- You want a different style. Painted raised-panel oak doors are still raised-panel oak doors, and the wood grain usually shows through.
Step by Step: How to Paint Kitchen Cabinets
1. Take the doors and drawer fronts off
This is the step people want to skip, and it’s the one that makes the biggest difference. Painting doors on the hinges means drips on the edges, paint on the hinges and doors that stick shut.
Number every door and its spot with a piece of tape inside the hinge cup or on the cabinet box. Bag the hinges and screws for each door. Hardware goes back on much faster when you’re not guessing.
2. Degrease, then degrease again
Kitchen cabinets carry a film of cooking grease, especially near the stove and around the handles. Paint won’t stick to it. Clean every surface with a degreaser, then wipe with clean water and let it dry. If a rag still comes away tan, keep cleaning.
3. Scuff-sand and remove the dust
You’re not stripping the old finish. You’re just taking off the shine so primer has something to grab. A fine-grit sanding sponge works well on profiles and edges. Vacuum, then wipe with a damp cloth or a tack cloth.
Fill dings or old hardware holes now with wood filler, then sand them flush.
4. Prime with the right primer
Glossy factory finishes and slick old varnish need a bonding primer. Here’s when I reach for Extreme Bond primer.
If you’re painting oak or another open-grain wood a light color, watch for tannins bleeding through as yellow or brown spots. A stain-blocking primer (oil-based or shellac-based) stops that. Ask at the paint counter what they recommend for your exact finish.
5. Paint two thin coats
Use an enamel made for cabinets and trim, not wall paint. Wall paint stays soft and gets sticky where doors meet the frame. Sherwin-Williams, where I get my paint through my rep, lists Emerald Urethane Trim Enamel and ProClassic among its cabinet options. Other brands make similar products.
Do the backs of the doors first, let them dry, then flip and do the fronts. Brush the recessed profiles, then roll the flat areas and lightly brush them out in one direction. Thin coats level better and dry harder than one thick coat. Most people choose satin or semi-gloss; here’s how satin and semi-gloss compare. If you want a smoother look on flat panels, see my guide to choosing a roller cover.
6. Wait before you rehang
Follow the recoat time on the can. After the last coat, give the doors extra time before rehanging and go easy on them for the first few weeks. Enamels keep hardening long after they feel dry, and doors that close too soon can stick to the frames or get marked by bumpers.
Time, Cost and Difficulty
Difficulty: moderate. Nothing here is technically hard, but it’s slow, repetitive work that rewards patience.
Time: plan on several days for an average kitchen, mostly waiting between coats. The cleaning, sanding and taping usually take as long as the painting. Count your doors and drawer fronts. Each one has two sides and four edges, and that number is what really drives the time.
Cost to hire out: it depends mostly on the number of doors and drawers, their condition, the profile of the doors and whether there’s an extra step like stain blocking. Because it’s labor-heavy, it often costs more than people expect, but usually far less than new cabinets. Get a quote on your actual kitchen instead of relying on a national average.
Common Mistakes
- Not degreasing enough. This is the top reason paint peels near the stove and around handles.
- Skipping primer. Paint straight over a glossy finish can scratch off with a fingernail.
- Using wall paint. It never gets as hard as an enamel.
- Thick coats. They sag, drip and stay soft longer.
- Rehanging too soon. Fresh paint sticks to fresh paint.
- Forgetting the floor. I layer a plastic drop cloth under a fabric one. I started doing that after paint soaked through a fabric cloth and stained a customer’s carpet. It’s a cheap habit compared to replacing flooring.
Safety
Ventilate well, especially with oil-based or shellac primers, and wear a dust mask when sanding. Many East Side homes were built before 1978, and their original cabinets or trim may have lead paint under newer coats. If yours might, test before you sand, and read the EPA’s lead guidance first. Sanding lead paint spreads dust that’s especially dangerous for kids.
DIY or Call a Guy?
DIY it if you have a place to lay out doors for a few days, you’re patient and you’re fine living with a partly working kitchen for a week or so. A small kitchen or a bathroom vanity is a good place to learn.
Call a guy if you have a lot of doors, you need the kitchen back quickly, or you want a smooth, even finish and don’t want to learn on your own cabinets. Call a pro for lead-safe work if testing shows lead paint. And if the cabinets are water-damaged or the boxes are failing, that’s a carpentry or replacement question before it’s a painting question.
Whoever does it, prep the room first. My guide on how to prep your home for a painter covers what to move and clear out. Painting the walls while the cabinets are done? Here’s the best paint for kitchen walls.
Local to Euclid or Cleveland’s east side? I do interior painting myself, and I’m happy to look at your cabinets and tell you straight whether paint is the right call. See my Painting Services in Euclid & Cleveland page, or text me a photo at 216-800-5883.
FAQ
Do I have to sand cabinets before painting?
Yes, at least a light scuff-sand. You don’t need to sand down to bare wood, just enough to knock off the shine so the primer bonds.
Can I paint cabinets without removing the doors?
You can, but the result is almost always worse: drips on edges, paint on hinges and doors that stick. Removing them is worth the extra hour.
Will the oak grain show through the paint?
Usually, yes. Oak has deep grain that paint and primer don’t fill. Some people like that texture. If you don’t, grain filler is an extra step, and it adds a lot of time.
How long do painted cabinets last?
With good prep and a cabinet enamel, they hold up well for years. Expect touch-ups around the handles and the sink base sooner than anywhere else.
Should I paint the inside of the cabinets?
Usually not. Most people paint the outside of the boxes, the face frames and both sides of the doors. Painting the interiors adds a lot of time and is easy to scuff with dishes.

Scan to join our Loyalty Program, get a free coupon for your next service, and stay up to date on our services and articles.
Affiliate Note
Some of the links in this article are affiliate links. That simply means if you choose to buy through them, I may earn a small commission at no extra cost to you. As an Amazon Associate I earn from qualifying purchases. I only recommend products I trust and would feel comfortable installing in my own home or a client’s home.
If you try something I recommended and it turns out to be anything less than a five-star experience, please let me know. I always want these recommendations to be genuinely helpful.