In November, I was working in Moreland Hills on what started as a fairly typical visit. The original request was to hang a shelf and a few framed photos. Clean, straightforward work. While I was there, the homeowner asked a question I hear often:
“Could you also help me put this together?”
Sitting nearby was a boxed cabinet she had ordered online. Like many people, she had assumed it would be a quick assembly job. After opening the box and skimming the instructions, she realized it was anything but simple and decided not to start it herself.
That decision alone saved her a lot of frustration.
The Reality of Modern Flat-Pack Furniture
Once the box was opened, the scope became clear. The cabinet had over 100 individual pieces, including fasteners, dowels, cam locks, adjustable hardware, and panels that only fit together correctly if assembled in the proper sequence.
The instructions consisted almost entirely of diagrams. Very few words. Multiple similar-looking parts. And several steps where tightening something too early would force you to undo work later.
This kind of furniture isn’t difficult because homeowners are incapable. It’s difficult because it’s designed to ship efficiently, not assemble intuitively.
Why Experience Matters More Than Strength
I charge one dollar per piece for furniture assembly jobs like this. On paper, that can sound expensive to someone who hasn’t assembled many of these units before.
In practice, it usually saves money.
Someone doing this for the first time might spend an entire evening or weekend:
-
Sorting hardware without a system
-
Misidentifying parts that look nearly identical
-
Tightening components too early
-
Forcing dowels or fasteners that are meant to slide, not press
-
Rebuilding sections after realizing a step was missed
Because I’ve assembled a lot of flat-pack furniture, I already know where most people get tripped up.
How I Approach These Assemblies
Before I install a single screw, I do a few things that make a big difference in both speed and quality.
First, I inventory and organize all parts. Hardware gets separated by type and size so nothing is confused mid-assembly. Panels are stacked and labeled in the order they’ll be used.
Second, I read the entire instruction set before starting. Not just the first few steps. This helps identify “trap steps,” where tightening something too early causes alignment problems later.
Third, I dry-fit when appropriate. Many cabinets rely on dowels and cam locks that need to be aligned correctly before tightening. Rushing this part is where most damage happens.
Finally, I tighten in stages. These pieces are engineered systems. Everything needs to be square and aligned before final torque is applied, otherwise doors won’t hang right, drawers won’t slide smoothly, and the cabinet won’t feel solid.
The Difference at the End
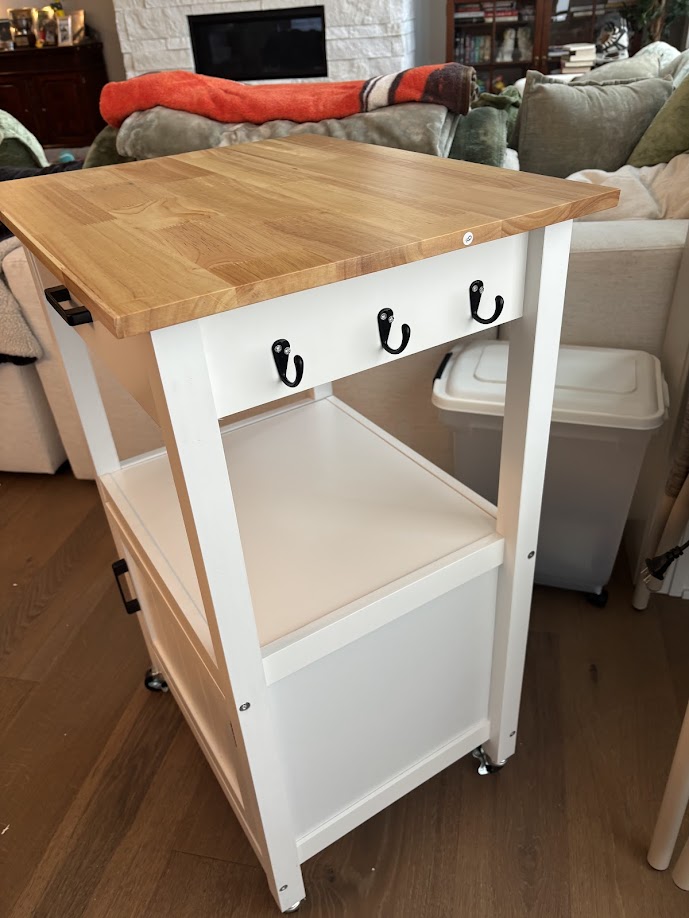
When the cabinet was finished, it was square, stable, and ready for daily use. No leftover parts. No stripped fasteners. No wobble.
Just as important, the homeowner didn’t lose an evening to frustration or feel like she needed to ask someone else to step in later to “fix” it.
What started as a simple shelf-hanging visit turned into a solved problem that had been quietly sitting in a box, waiting to become a headache.