When a playful pup turned a tub spout into his newest chew toy, a Mayfield homeowner found themselves in a tricky spot—unable to shower and unsure how to proceed. Initially attempting a DIY fix with an Amazon-ordered replacement spout, the homeowner quickly realized the complexity of the job was beyond their comfort level. Remembering the efficient help we provided with previous leaky sink drain repairs, they knew exactly who to call.

At Colin Can Help, we pride ourselves on rapid response times, especially for urgent situations like this. Understanding the urgency, we provided same-day service, arriving promptly with all necessary parts in hand.

The tub spout replacement service involves:

  1. Assessing and Safely Removing the Damaged Fixture:
    • Shut off the water supply to avoid accidental leaks.
    • Identify the type of spout (threaded or slip-on) to determine the correct removal method.
    • Carefully loosen and remove the spout without damaging the plumbing behind the wall.
  2. Properly Prepping the Plumbing for Installation:
    • Inspect plumbing connections for signs of corrosion, damage, or blockage.
    • Clean threads or copper pipes thoroughly to ensure a tight, leak-free seal.
    • Apply plumber’s tape or pipe sealant where necessary for additional protection.
  3. Expertly Installing the New Spout:
    • Align and attach the new spout correctly, ensuring proper orientation and function.
    • Securely fasten or tighten the spout according to manufacturer specifications, avoiding overtightening.
    • Restore water supply and thoroughly check for leaks or any signs of improper installation.

To round off the service call, we ensured the mischievous furry friend got a tasty biscuit, gently promising us he’d avoid future plumbing experiments.

If you’re facing an unexpected plumbing mishap, trust Colin Can Help for fast, reliable solutions and a friendly approach—even with the furry culprits.


Frequently Asked Questions (FAQ)

Q: How do I know if my tub spout is threaded or slip-on?

A: Threaded spouts will have visible threads inside the base of the spout once removed. Slip-on spouts are typically secured with a small set screw located underneath the spout. Learn more about threaded vs slip-on spouts

Q: Can I replace a tub spout myself?

A: With basic plumbing knowledge and tools, many homeowners can replace a tub spout. However, improper installation can cause leaks and further damage. If you’re unsure, it’s best to call a professional. If you are considering doing it yourself, check out our reference guide in the Colin Can Help Library.

Q: How long does a tub spout replacement take?

A: Typically, a professional can replace a tub spout within an hour, assuming no complications like corrosion or plumbing damage are encountered.

Q: Why is my tub spout leaking?

A: A leaking spout usually results from worn-out internal parts, improper installation, or corrosion around plumbing connections. Replacing the spout generally resolves these issues.

Q: What tools do I need to replace a tub spout?

A: Common tools include channel lock pliers (often the most effective), an adjustable wrench, plumber’s tape, screwdriver, and sometimes an Allen wrench for set screws.

Q: Is tub spout damage from pets common?

A: Yes, pets, especially dogs, sometimes chew on fixtures due to curiosity or boredom. It’s advisable to ensure pets have proper chew toys to prevent damage to household fixtures.

Q: Should my replacement tub spout have a diverter?

A: It depends on your existing plumbing setup. If your shower diverter is built into your spout, you must purchase a spout with a built-in diverter. If your diverter is located elsewhere, you’ll need a standard spout without a diverter.

Q: Can I use plumber’s tape on my new spout?

A: Yes, plumber’s tape (Teflon tape) is recommended for threaded connections to ensure a watertight seal and prevent leaks.

Q: How do I handle a corroded pipe when replacing a tub spout?

A: If corrosion is minor, gently cleaning with steel wool or a wire brush and applying a corrosion-resistant lubricant can help. However, severely corroded pipes may need professional replacement.

Q: Do I need to shut off the main water line to replace my tub spout?

A: Generally, no. However, you should turn off the water to your shower or bathtub fixture to prevent accidental leaks during installation.

We’re proud to share this leaf cleanup project for one of our valued recurring clients in Solon, Ohio. Year after year, we have the opportunity to help keep their property tidy as the leaves fall, ensuring their yard stays healthy and inviting throughout the season.

Our process is straightforward yet effective. We start by using backpack blowers to clear the bulk of the leaves, directing them back into the tree line where they can naturally decompose. Once most of the leaves are cleared, we follow up with our commercial lawn mowers equipped with bagging attachments to mow the lawn and collect any remaining debris. By mixing the collected leaves with grass clippings, we create a nutrient-rich layer that breaks down over time, feeding the surrounding trees and enriching the soil. This eco-friendly approach not only keeps the property looking great but also supports the health of the landscape.

If you’re in Solon, Ohio, and need a trusted team to handle your leaf cleanup—whether it’s a one-time service or seasonal care—we’d love to help. Check out the video below to see how it turned out, and contact us today to schedule your cleanup!


PaintingBathroom Makeover

Our Task
Our client had a small area of paint bubble up after some water damage and when we showed them the price to repair the area and match the existing paint, a whole room repaint made more sense.
Our Process
We removed the mirror and fixtures, fixed the damaged area, did a light clean and sand on he walls, and began to paint. They wanted to do the dredging style where the walls and ceilings are the same color so we applied 2 coats to the walls and it took 3 to get the ceiling looking good.

For this project we used the Sherwin Williams Cashmere paint in a Plum Dandy semi gloss.
The Result
The customer was happy with the result and I think it turned out well too. The darker color did call for brighter light bulbs and I recommended they switch the wall accessories from stainless steel to gold to make the color pop a bit more.
We got called to a place that had been in need of some work for a long time. The mother of the family was a gardener and as she aged and eventually passed, nature took back control of her gardens and yard.
 The family didn’t know where to start and honestly, I almost didn’t either.
We spent almost a full day only pulling Thistle. It is important when you have overgrowth like this to pull as many roots as you can to limit the ability for the vegetation to regrow.
Once we got most of the weeds out, we could kind of see what was there originally, recut some beds, and filled the open areas with wood chips to help limit the amount of maintenance they would have to do.
The family and even the neighbors came out to tell us how happy they were with thee new look.
We hope this helps the family remember moms garden for what it was and gives them the ability to take care of things from here on out.

Can You Help Bring Back My Lilac Bed?

The Goal:

Take an overgrown area and turn it back into a defined flower bed.

Needs:

  • Plastic Edging Removed
  • Stone Removed
  • Weeded
  • Dead Bushes Removed
  • Lilac Pruned
  • Bed Edged
  • Mulch

Lilac Bed Before
Lilac Bed After

The Solution:

Remove overgrowth, define the bed, and cover with mulch.

Tools Used:

Materials:

  • Mulch
  • Lawn & Leaf Bags

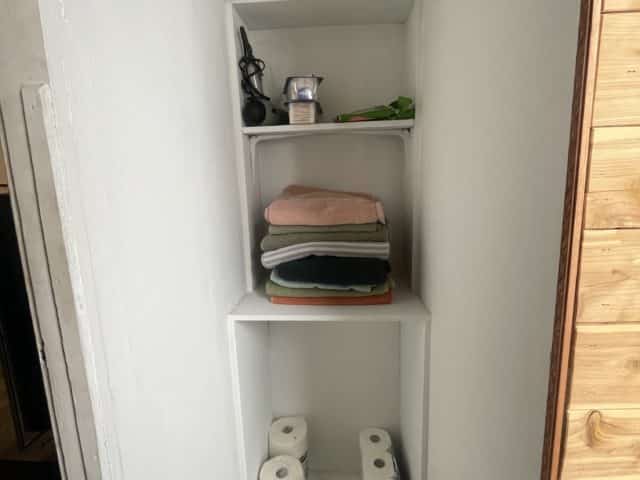
What to do when you have a closet that had a large HVAC tubing and not much else?

Make some custom shelves and make it look like the pipe was never there. We were able to reuse old shelving to create a much more usable area.


Tools Used:

  • Drill
  • Screws
  • Pencil
  • Miter Saw
  • Level

Materials Used:

  • Caulk
  • Shelving
  • Paint
  • Drywall
  • Drywall Mud
  • Drywall Tape
  • White Board

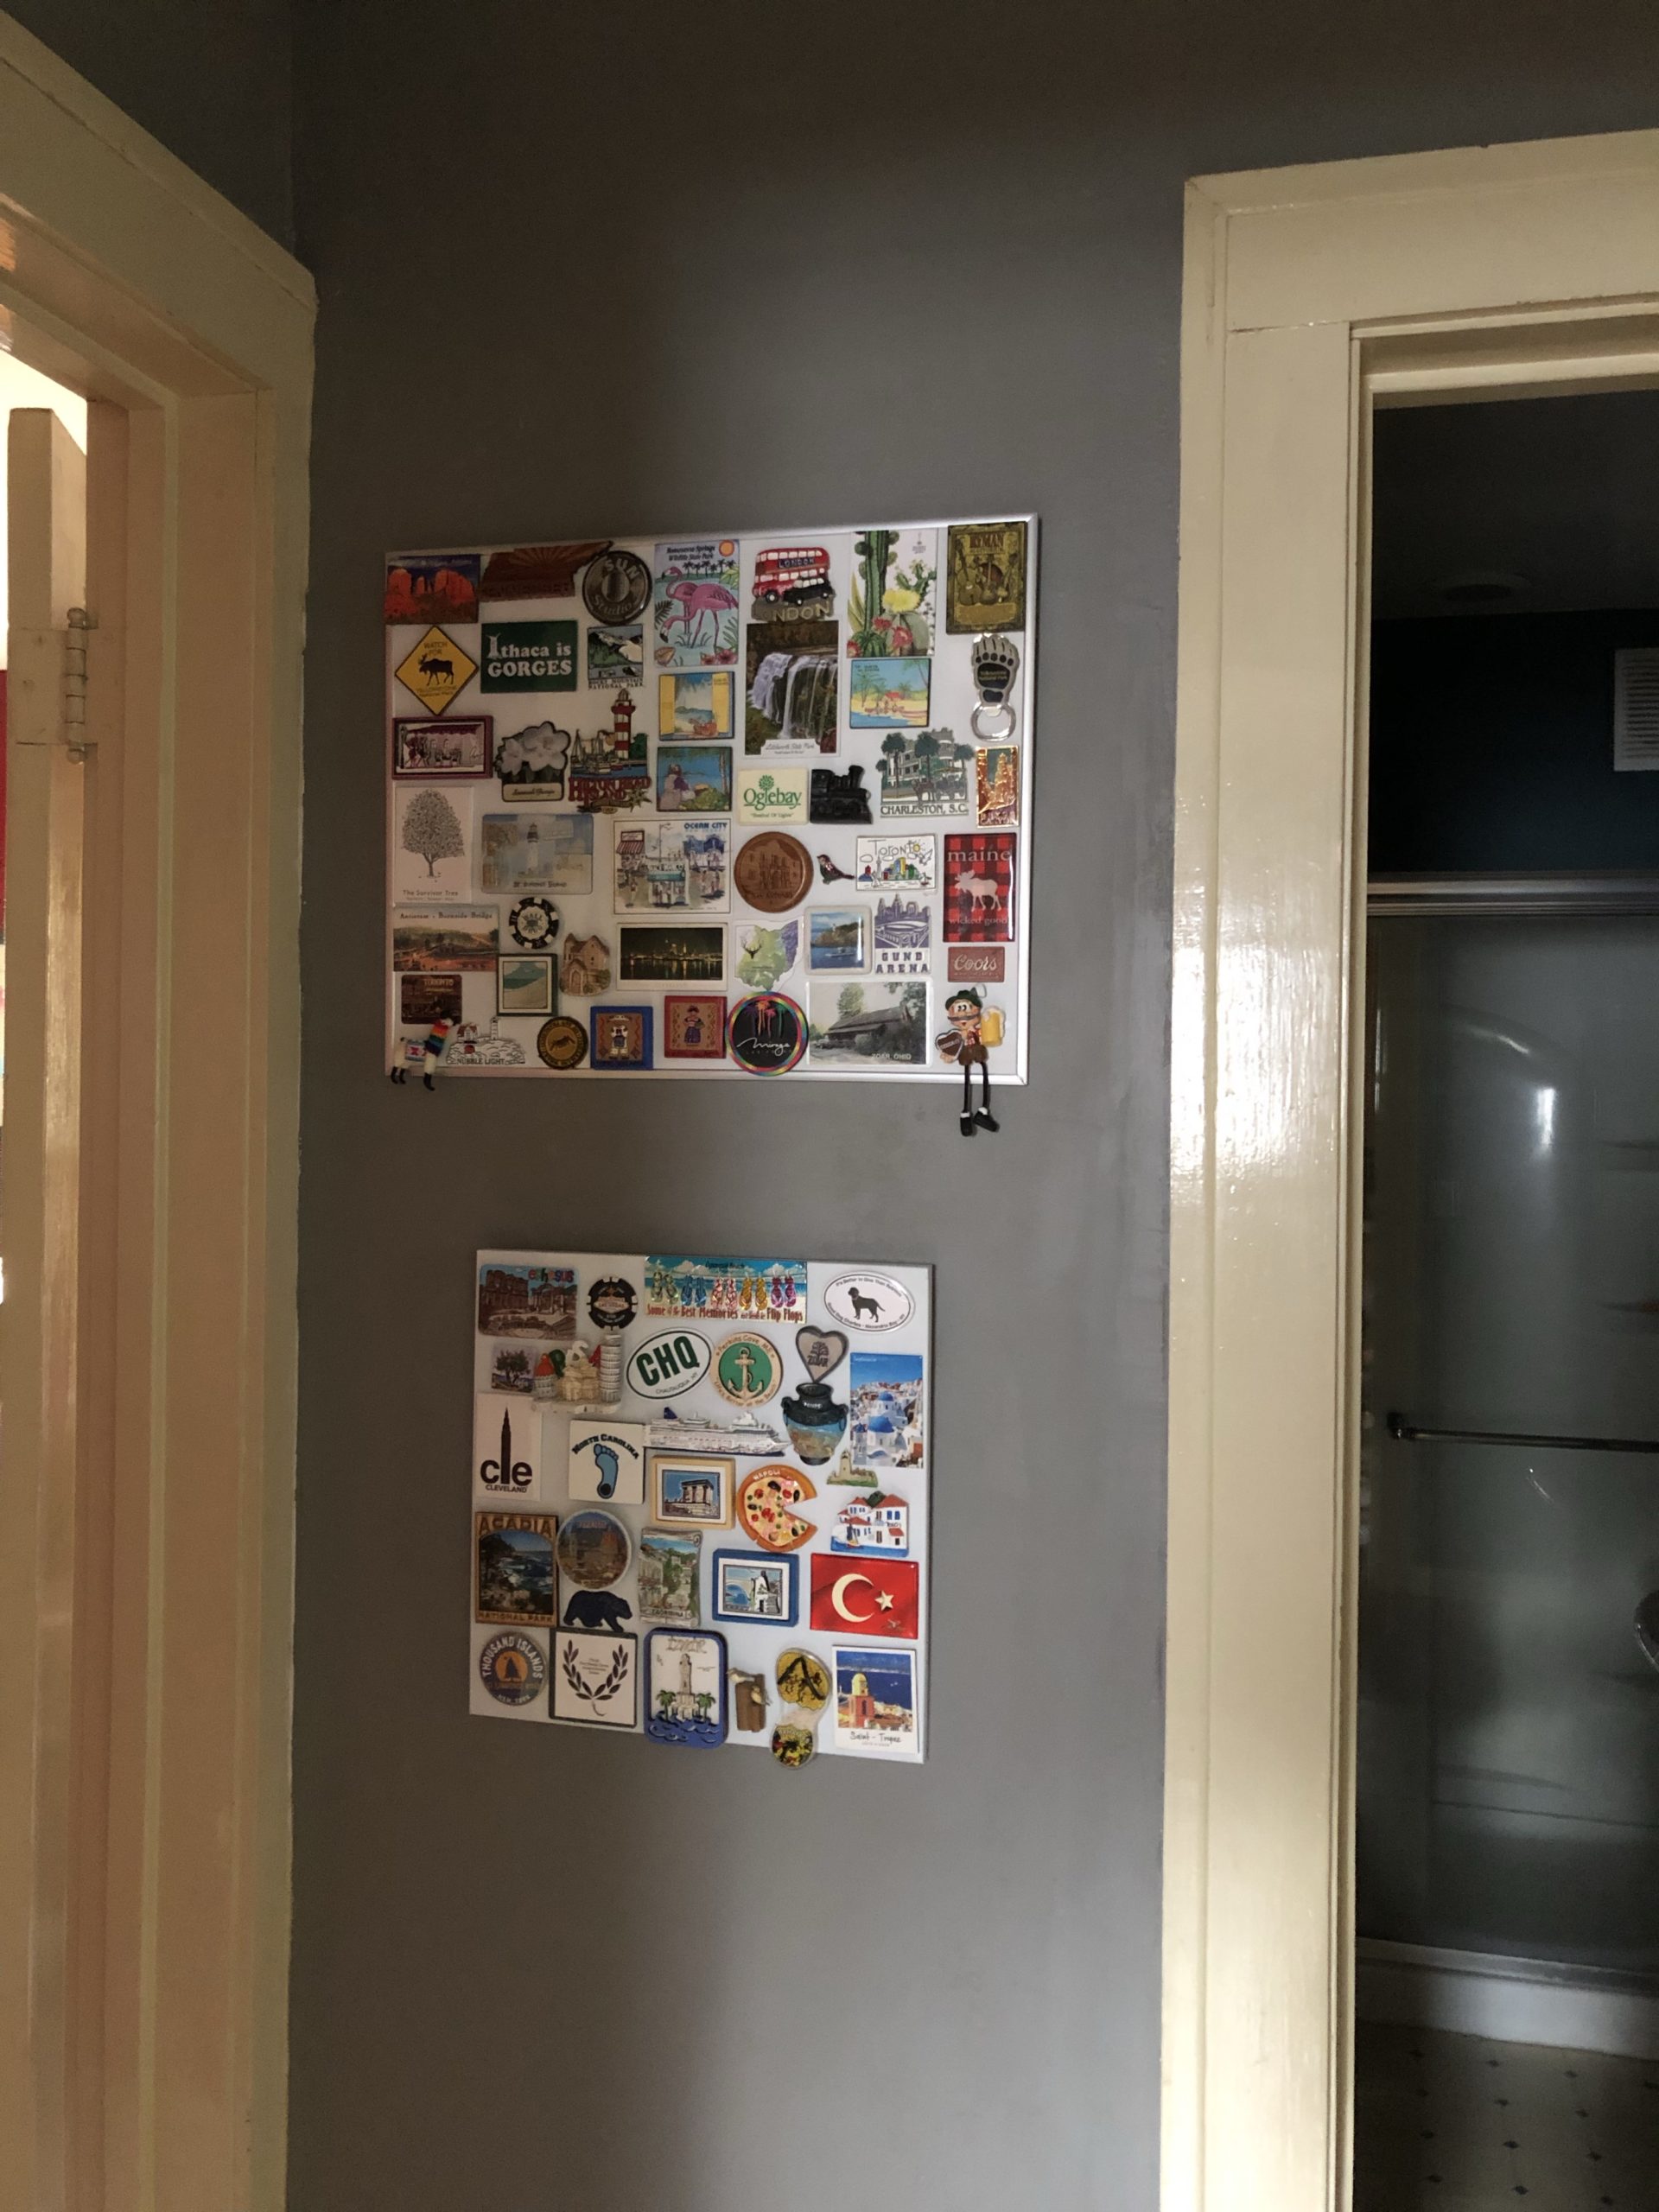
The bracket holding this board up was a little weak and they wanted it lowered a bit. I was able to get it lowered, secured, and repainted, and no sign of the old holes.


Tools Used:

  • Drill
  • Drill Bit
  • Drywall Knife
  • Marker
  • Level

Materials Used:

  • Paint
  • Joint Compound
  • Painters Tape
  • Screw with Molly Anchor


Procedure:

  1. Take down the existing board and remove the screws.
  2. Sand down the area so that it is flat and fill holes with joint compound and allow the compound to dry.
  3. I used a piece of painter’s tape to trace where the mounting holes on the board were and applied it to the wall.
  4. Once I made sure it was level and centered, I drilled where I marked the holes on the tape.
  5. I then installed the anchors and screws leaving them sticking just out of the wall so they could hook into the board.
  6. I painted over the new patch work and hung the photo board back up in its new place.

We were able to manually pull all of the weeds, cut a trench edge, and install Brown mulch to help bring the curb appeal back to this Shaker Heights home.

Colin Can Help LLC, 2023 © All Rights Reserved