🔑 Key Takeaway
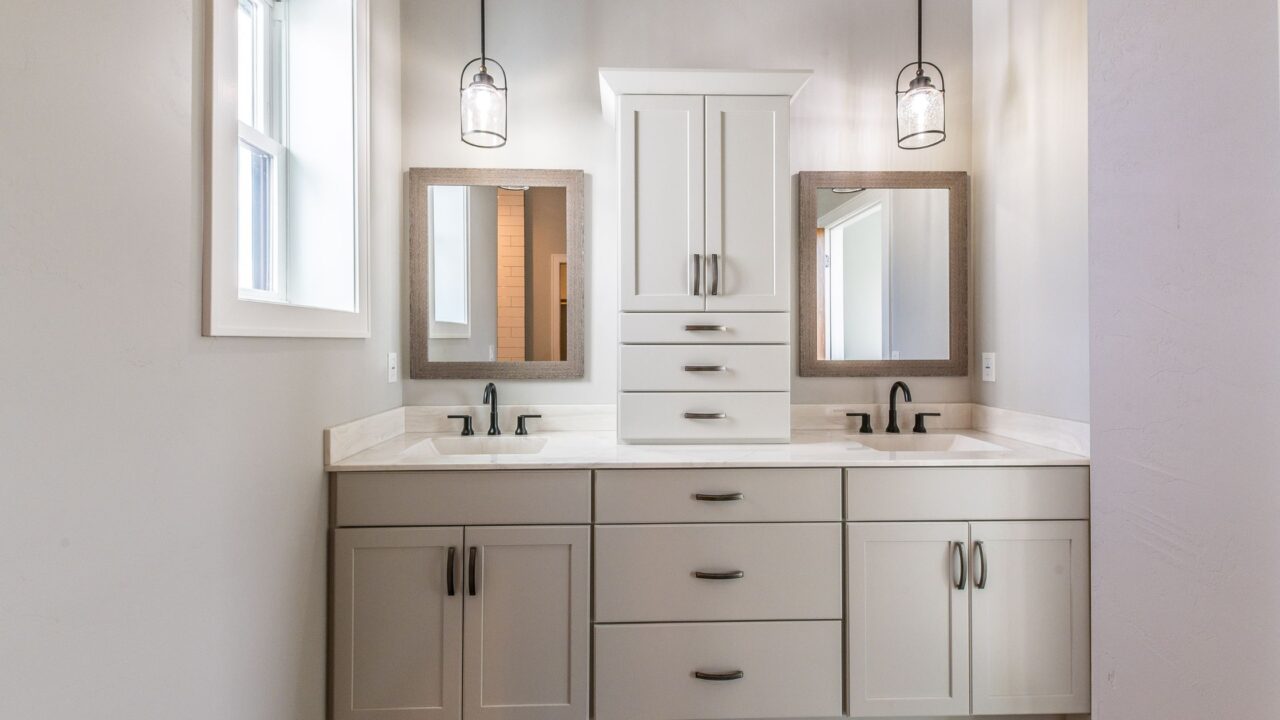
To install a bathroom vanity like a pro, it must be securely anchored to the wall and perfectly level. Failing to do either can lead to wobbly cabinets, cracked countertops, crooked doors, and plumbing issues. With the right tools and a few pro tricks, securing and leveling is quick, clean, and long-lasting. If after reading this it seems beyond your comfort level, we are always here to help with vanity installation for Northeast Ohio.
Why Securing and Leveling Matter So Much
Even a brand-new vanity will cause problems if it’s not properly installed:
-
A loose vanity can shift, stressing plumbing connections and damaging tile or drywall
-
An unlevel vanity makes drawers or doors sag, water pool in the sink, and countertops crack over time
-
Small gaps between the wall and vanity can make caulking messy and hard to clean
Most vanity issues aren’t about the cabinet itself — they come from bad wall prep and rushed install steps. This guide walks you through doing it right.
Step 1: Check the Wall and Floor for Level
Before anchoring anything, place your vanity where it will go and use a 2–4 foot level to check:
-
The floor (front-to-back and side-to-side)
-
The wall behind the vanity
-
The vanity top (if already attached)
If things aren’t level:
-
Use shims to raise one or more corners
-
Mark areas where the wall bows inward (you may need to scribe or caulk for a flush fit)
Pro Tip: Always level the vanity before securing it. Trying to adjust afterward can crack the top or put stress on plumbing.
Step 2: Locate Wall Studs
Use a stud finder to locate the framing studs behind the wall. Most vanities are attached using:
-
Two screws into studs (minimum)
-
At least one per corner for larger units
Mark stud centers with a pencil at the top and bottom of the vanity’s back panel.
Step 3: Pre-Drill Anchor Holes
Drill pilot holes through the back panel of the vanity at your stud marks.
-
Use a countersink bit if you want screws to sit flush
-
For wall sections without studs, use heavy-duty toggle bolts or wall anchors
Avoid drilling through supply lines or drain pipes. Check behind the wall with a detection tool if you’re unsure.
Step 4: Add Shims to Level the Base
Place shims under the low corners or edges of the vanity base to level it out.
-
Check from multiple directions with your level
-
Once level, mark the shim locations
-
Use a utility knife to trim any excess shim sticking out
Pro Tip: Use composite shims — they don’t rot or compress over time like wood can.
Step 5: Screw the Vanity to the Wall
With the vanity leveled and pre-drilled:
-
Use 2.5″ to 3″ wood screws into the studs
-
Drive them in slowly and evenly to avoid shifting the cabinet
-
Don’t overtighten — it can pull the cabinet frame out of square
If there’s a gap between the back of the cabinet and the wall due to bowed drywall, you can:
-
Add a spacer shim behind the screw
-
Or use a longer screw with a washer to bridge the gap
Step 6: Secure the Vanity Top (if separate)
If the countertop is separate, now’s the time to:
-
Apply a bead of silicone along the vanity edges
-
Carefully lower the countertop into place
-
Press down evenly to seat it
Let the silicone cure for at least 12–24 hours before applying backsplash caulk or using the sink.
Step 7: Final Touches
-
Use color-matched caulk to seal any visible gaps at the wall or floor
-
If there are exposed side panels, you can use L-brackets inside the cabinet for extra stability
-
Re-check level after everything is installed — shimming may slightly shift during anchoring
💬 Frequently Asked Questions
How do I anchor a vanity to the wall if there are no studs behind it?
Use heavy-duty toggle bolts or wall anchors rated for at least 75 lbs each. But if possible, shift the vanity slightly to catch at least one stud.
Do I need to glue the vanity base to the wall or floor?
No. When you install a bathroom vanity, proper anchoring with screws and shims is enough. Avoid construction adhesive unless you’re installing a floating vanity or working around very uneven surfaces.
What can I do if the wall behind the vanity isn’t straight?
You can scribe the back edge of the vanity with a jigsaw for a flush fit, or use a back caulk line to close small gaps. In extreme cases, furring strips or wall repair may be needed.
Should I secure the vanity before or after putting on the countertop?
Secure the vanity base first, then install the countertop. This gives you better leverage and avoids cracking the top while anchoring.
How do I level a vanity on a sloped or uneven floor?
Use composite shims under the corners until the cabinet is level. Trim excess and secure the shims in place before anchoring the vanity.
Where should I buy a new bathroom vanity?
I am a big fan of shopping in this order: Menards, Lowes, Home Depot, Amazon.
Last Updated 6/30/25