A timely upgrade before family arrived for the holiday
The Friday before Thanksgiving, a South Euclid homeowner reached out asking if I had any availability for the coming Monday. She had a few projects on her long-standing to do list and wanted the home to feel complete before her family arrived for the holiday. One of those projects was a front entry light that had become loose over time and was now hanging by its wires.
After talking on the phone that Friday, I advised her to stop by Menards sometime over the weekend to choose a fixture she liked. Menards is one of my go to recommendations for lighting because they have so many fixtures on display. Being able to see the actual brightness and glow of a light helps homeowners choose something they will genuinely enjoy once it is installed.
By Monday, she had her new LED fixture picked out, and I was able to work her into an evening appointment at 7 pm.
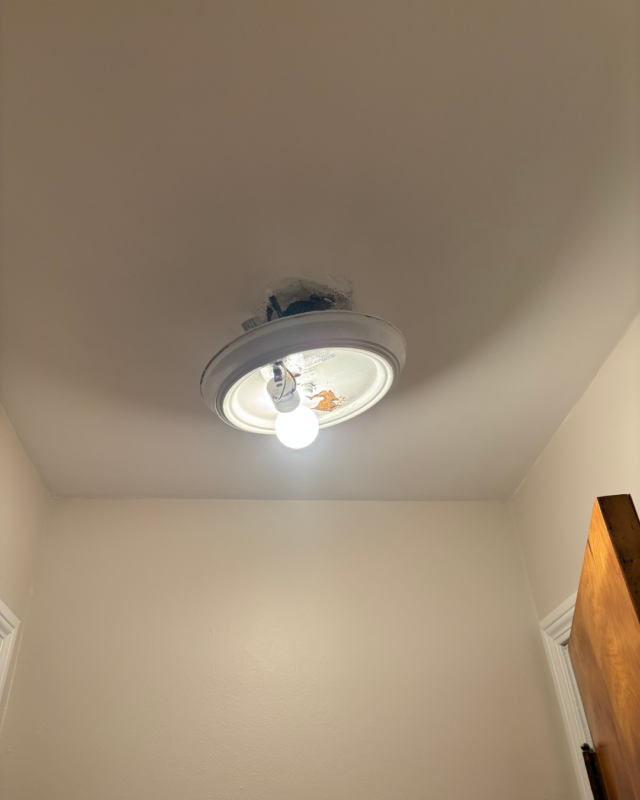
The problem: an aging fixture with corrosion and old water damage
When I arrived on Monday evening, I inspected the old fixture and immediately saw that water exposure had played a role in its failure. The screws were corroded, the bracket had rusted in place, and the entire fixture was hanging too low to be safe.
Removing a light in this condition takes patience. I carefully loosened the damaged hardware, secured the wiring, and cleaned the electrical box to bring it back to a safe condition. Once everything was prepped, it was ready for the new LED fixture.
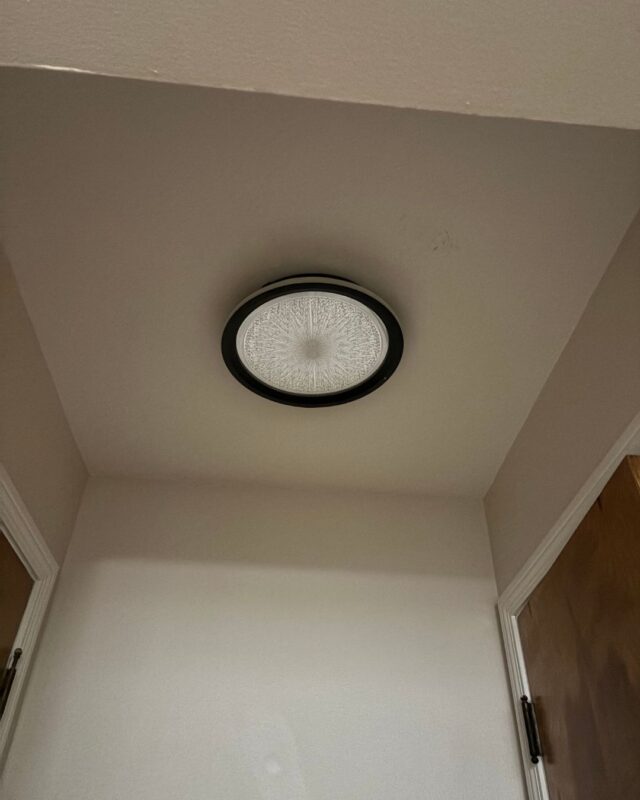
Installing the new light
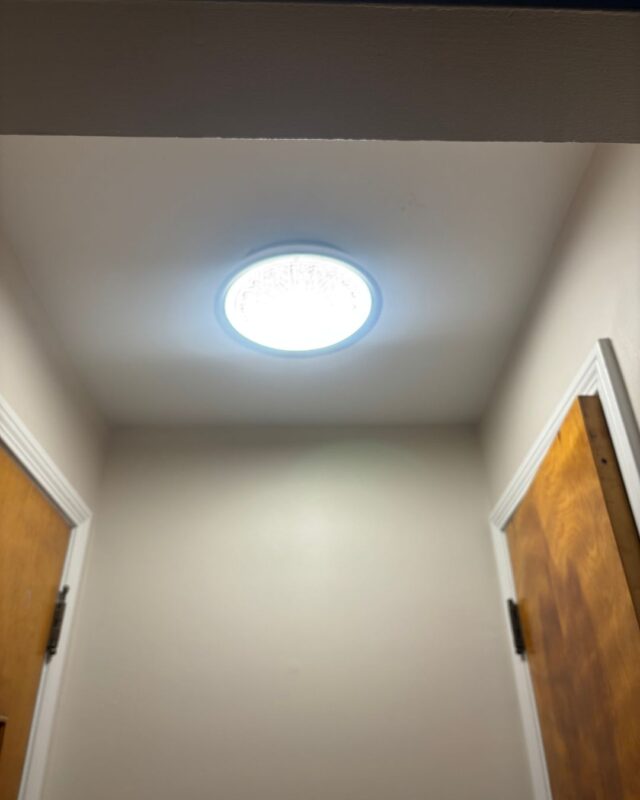
The homeowner had chosen a modern LED fixture that fit the space perfectly. After securing the new mounting hardware, I installed the fixture, tested the connections, and adjusted everything to sit clean and level.
The difference was immediate. The entryway became brighter, cleaner, and much more welcoming. She pointed out how much easier it became to see through the window on the front door. Better lighting made it simple to check who was on the porch at night, which was especially helpful during the darker winter months.
After finishing the install, I cleaned the area and removed the old fixture from the property.
Before and After Photos
What does this type of project cost
Every home is a little different, but most basic light fixture replacements fall into a predictable range when no major rewiring is required.
Typical pricing for this type of job:
-
Standard fixture replacement: 125
-
Replacement involving corrosion or stuck hardware: 150 to 250
-
Fixture supplied by the client in this project. It was less than $50, but I do not know the exact amount they paid.
-
Evening appointments available when scheduling allows
This project fell in the moderate range due to the rusted hardware and prep required before installation.
Homeowners often find that a simple lighting upgrade delivers a surprising amount of visual improvement, safety, and comfort for a relatively low cost.
Why this project mattered
This was not a major renovation. It was a targeted fix that brought immediate peace of mind. The entryway became safer. The home became brighter. And everything was ready in time for family to arrive for Thanksgiving.
Small, manageable improvements like this help homeowners keep their homes comfortable without needing large projects or long downtime.
Thinking about upgrading a fixture in your home
If you have a light that is loose, outdated, water-damaged, or simply not your style anymore, I can help. I install:
-
Interior and exterior fixtures
-
Porch lighting
-
Vanity fixtures
-
LED upgrades
-
Smart compatible lighting
Most installs can be completed in a single visit.