An duo lorem altera gloriatur. No imperdiet adver sarium pro. No sit sumo lorem. Mei ea eius elitr consequ untur. In mel aeterno.
Follow us on Social media
Lorem ipsum proin gravida nibh vel velit auctor alique tenean sollicitudin.

With some careful prep work, high-quality paint, and the right finishing touches, a dated 1990s bathroom vanity can look brand new again. In this project, we sanded, cleaned, primed, and repainted the vanity in Sherwin-Williams Iron Ore, then upgraded the hardware with stylish matte black knobs from Lowe’s. The result: a modern, elegant centerpiece that instantly elevates the bathroom without the cost of a full replacement.
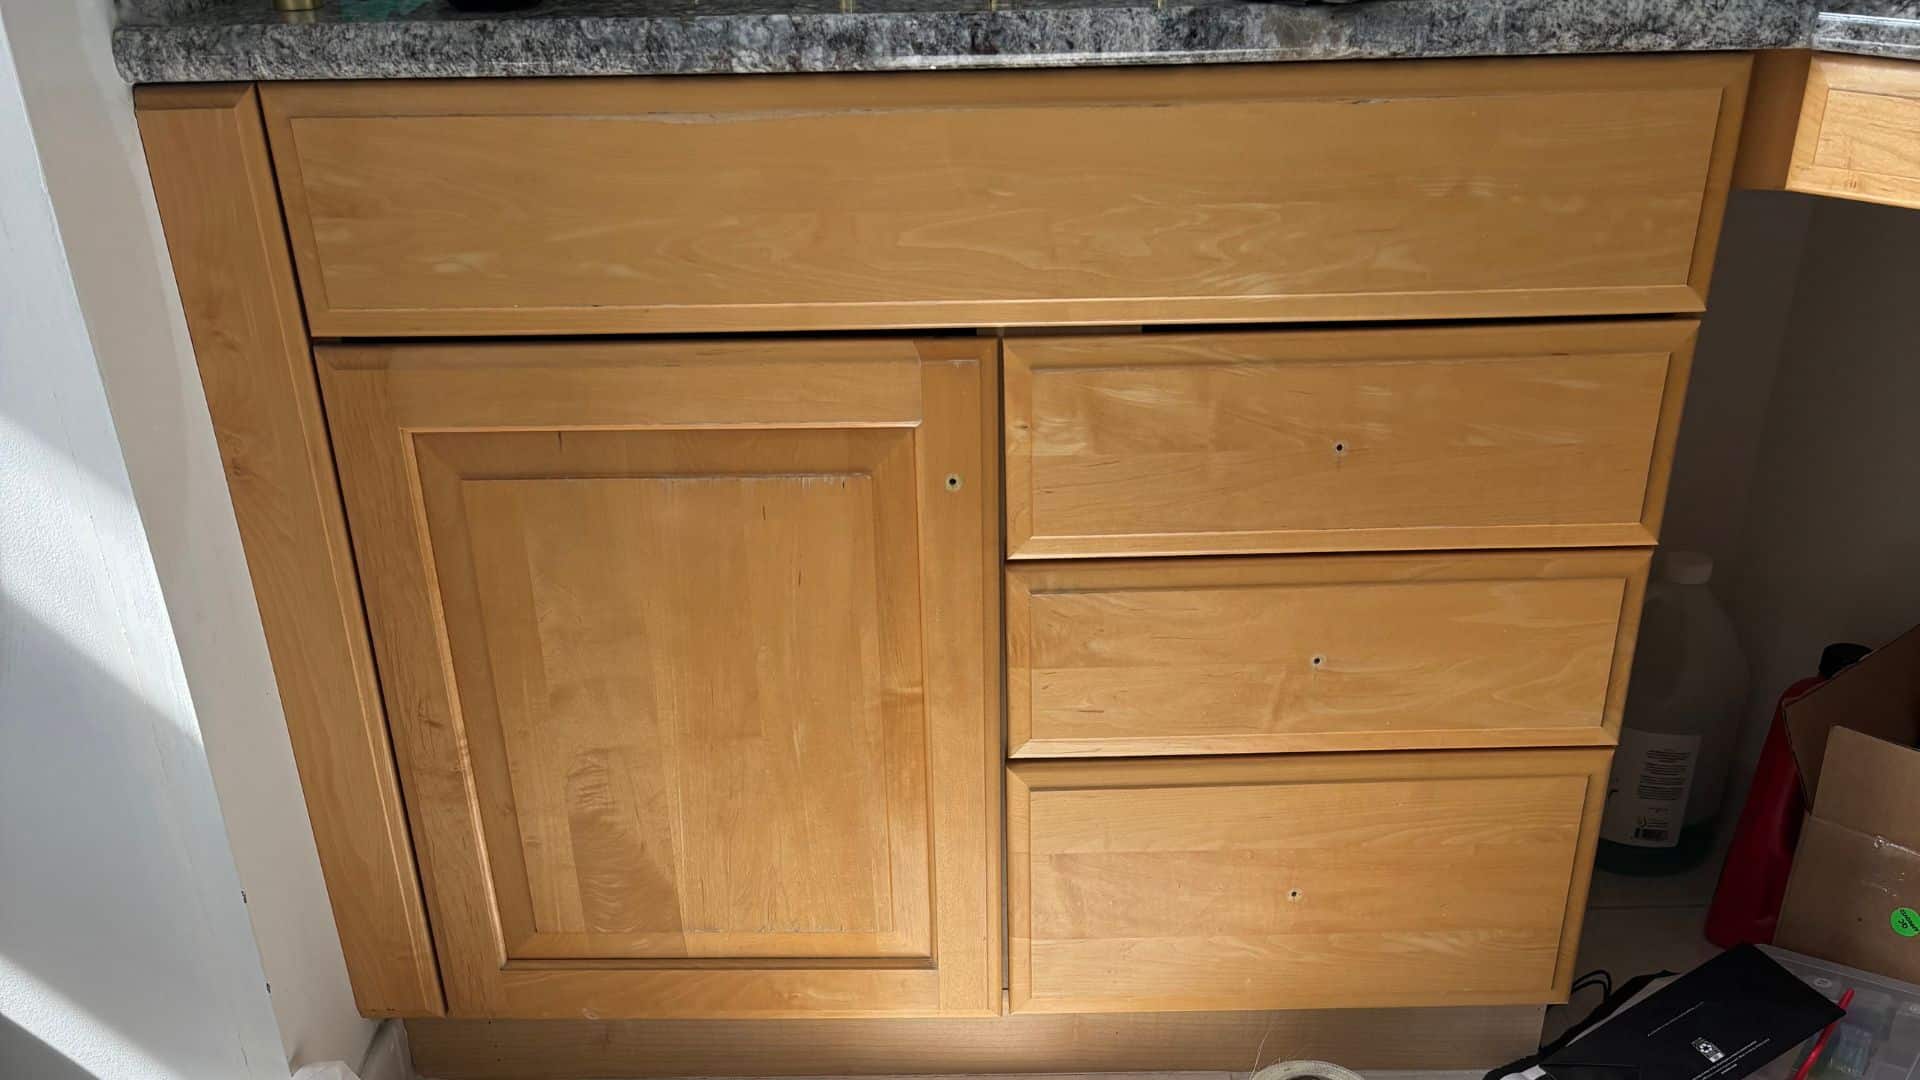
Many homes still carry the standard oak or maple bathroom vanities that came with 90s construction. They’re sturdy and functional, but the orangey wood tones and basic hardware can feel dated. Our client wanted to update the look without investing in a full replacement — refinishing was the perfect solution.
Preparation is what makes or breaks a refinishing job. We:
Removed all drawers and doors.
Lightly sanded down the drawer fronts and cabinet face to remove the glossy factory finish.
Vacuumed and wiped everything clean to eliminate dust and oils.
This ensured that primer and paint would properly bond for a durable finish.
We applied a high-adhesion primer across all sanded surfaces. Primer locks down any residual stain from the old finish and creates a smooth base for the new color.
With the vanity primed, we painted two coats of Sherwin-Williams polyurethane-fortified paint in the deep, rich Iron Ore shade. This color choice gave the vanity a bold yet refined look — dark enough to feel modern, but still warm against lighter tile and wall finishes.
Between coats, we allowed for proper dry time and did a light scuff sand to maintain a smooth, professional surface.
The finishing touch was swapping out the old knobs with sleek, modern golden cabinet knobs from Lowe’s. Hardware may seem small, but it makes a huge impact — instantly transforming the vanity’s style and tying the whole look together.
What started as a plain, builder-grade cabinet is now the focal point of the bathroom. The Iron Ore finish adds depth and sophistication, while the clean lines of the new knobs give it that timeless, modern feel. Best of all, the project was done at a fraction of the cost of a full vanity replacement.
Cost-effective: Refinishing is significantly cheaper than tearing out and installing a new vanity.
Durable: Using Sherwin-Williams polyurethane paint ensures the finish holds up in a bathroom environment.
Customizable: Simple hardware swaps allow homeowners to match the look to their style.
Sherwin-Williams Polyurethane Paint (Iron Ore color)
Sanding block or orbital sander
High-adhesion primer
Screwdriver and drill for knob installation
September 4, 2025
