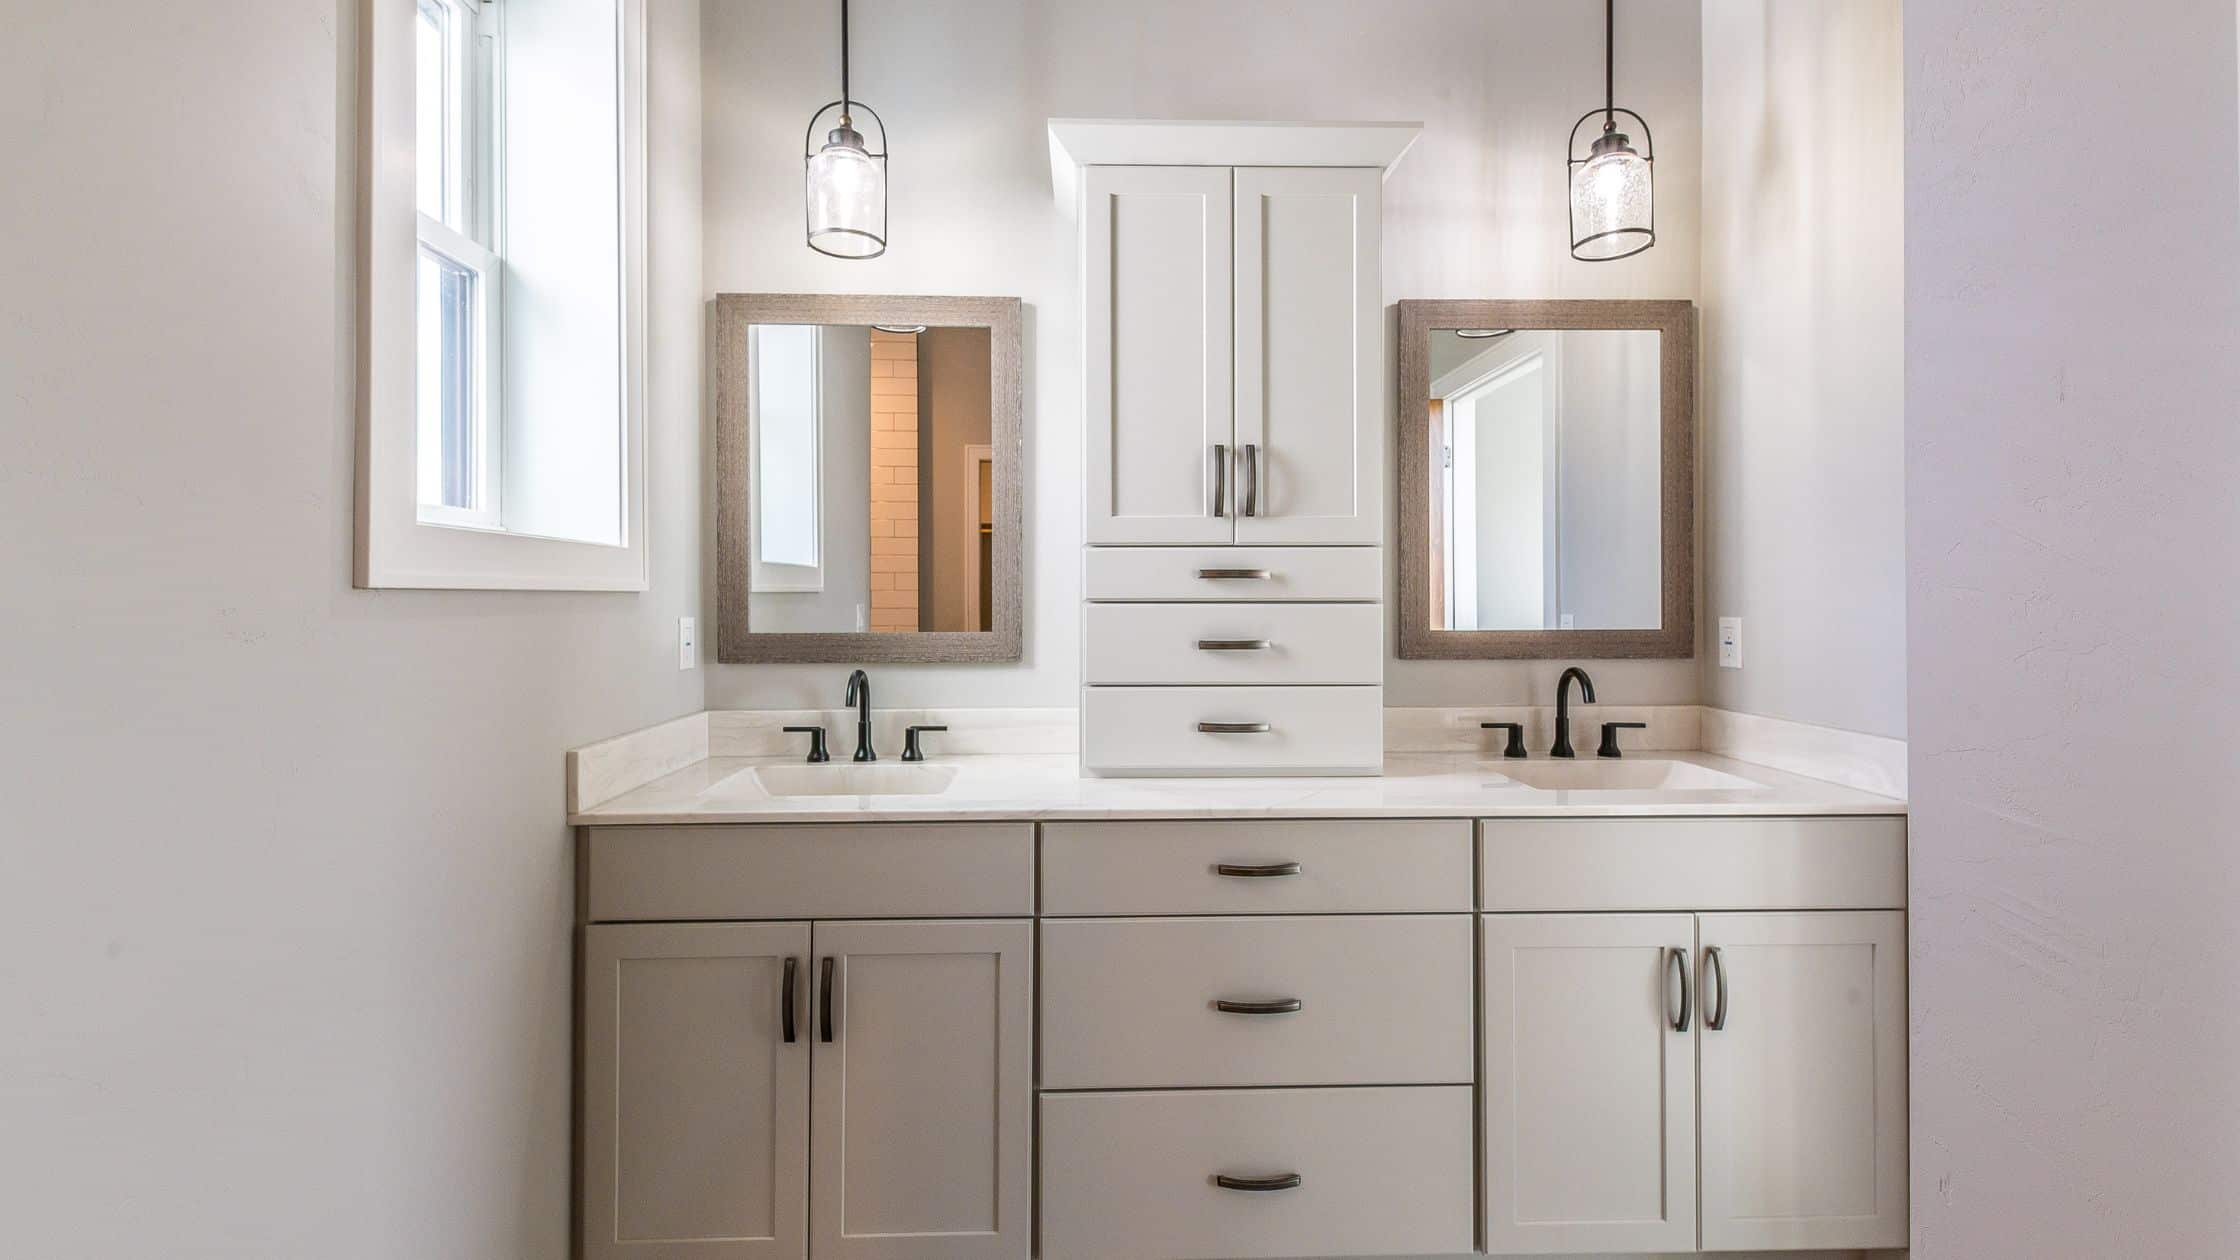
How to Remove a Bathroom Vanity Without Damaging the Wall or Floor
🔑 Key Takeaway
Removing a bathroom vanity the right way takes more than just unscrewing bolts. By carefully disconnecting plumbing, cutting caulk, and loosening adhesive, you can remove your old vanity without damaging your walls or floors — setting the stage for a clean, hassle-free replacement.
🛠️ Tools You’ll Need
-
Pry bar or flat bar
-
Screwdriver or drill
-
Bucket and towels
-
Adjustable wrench or channel locks
-
Box cutter or oscillating multi-tool (for caulk and glue)
-
Reciprocating saw (optional, for stubborn base units)
-
Gloves and eye protection
-
Putty knife or scraper
Step 1: Shut Off Water and Disconnect Supply Lines
Before anything else, shut off the water at the vanity’s shut-off valves. If they’re stuck or missing, turn off the main water line instead. (Need help? Read our guide on how to find and shut off your main water supply.)
Then:
-
Open the faucet to relieve pressure
-
Place a bucket under the supply lines
-
Disconnect each line with a wrench
-
Label hot and cold hoses if reusing them
Step 2: Disconnect the Drain Assembly
-
Unscrew the slip nut on the P-trap
-
Let water drain into your bucket
-
Remove the drain tailpiece if needed
If you plan to reuse the faucet or drain, go slow — plastic fittings can crack easily.
Step 3: Cut Through Caulk and Adhesive
This is a critical step when you remove a bathroom vanity without damage.
Use a utility knife or oscillating tool to slice through all caulk lines:
-
Behind the backsplash
-
Along the vanity top edges
-
Where the base meets the floor
This protects your drywall and tile from tearing.
Step 4: Remove the Vanity Top (If Separate)
Check underneath for brackets or screws. Once loose, lift it carefully or use a flat bar to assist.
Pro Tip: Vanity tops are heavier than they look — don’t try to carry one solo if it’s stone or thick composite.
Step 5: Unscrew the Vanity Cabinet
Remove any drawers or doors first to access mounting points. Then:
-
Locate and unscrew wall fasteners
-
Check for screws going into the floor (common in custom setups)
Step 6: Pry the Cabinet Loose with Care
Use a flat bar to gently release the cabinet from the wall. For glued units:
-
Tap behind the cabinet to break the adhesive bond
-
Never yank — especially near tiled floors or fragile drywall
-
If it’s embedded behind flooring, consider cutting it in sections with a reciprocating saw
Step 7: Clean Up Caulk, Screws, and Debris
Once you remove the vanity:
-
Scrape remaining adhesive or caulk
-
Fill any wall gouges with spackle
-
Touch up paint or tile as needed
-
Wipe down the area thoroughly
Step 8: Inspect Plumbing for Repairs or Upgrades
With the vanity gone, now’s the perfect time to:
-
Replace shut-off valves if they’re old or corroded
-
Adjust drain height for the new vanity
-
Check for rot, mold, or water damage under the old unit
Step 9: Responsible Vanity Disposal or Repurposing
Don’t just toss your old cabinet!
-
Schedule a bulk pickup with your local waste service
-
Contact a local Habitat for Humanity ReStore or donation center
-
Label sharp edges if leaving the vanity at the curb
-
Remove all screws and nails before transport
💬 Frequently Asked Questions
Do I need to shut off the main water line to remove a vanity?
Usually not. If your under-sink shut-offs work, that’s all you need. If they’re broken or absent, then yes — shut off the main line.
How do I know if the vanity is glued to the wall?
If there’s no visible movement or screws, it’s likely glued. A rock-solid vanity usually means adhesive is involved. Use a flat bar and work slowly to avoid wall damage.
Can I remove a bathroom vanity without damaging drywall?
Yes — if you cut all caulk lines and remove screws first, you can usually remove the vanity cleanly. Rushing or skipping steps is what causes torn drywall and cracked tiles.
Should I replace shut-off valves during this process?
Absolutely. They’re inexpensive and offer peace of mind — especially if the old ones were stiff, leaking, or over 10 years old.
How long does it take to remove a vanity?
For most standard vanities, budget 1–2 hours. Add more time if it’s glued in place or part of a larger remodel.


No Comments
Sorry, the comment form is closed at this time.