Removing old wallpaper can feel like peeling back decades of someone else’s bad design decisions—and if you’re not careful, you might peel off your drywall while you’re at it.
Whether you’re tackling a single accent wall or an entire room of floral vinyl from 1982, it helps to know what you’re getting into. Wallpaper removal can be done cleanly—but it takes patience, the right tools, and a gentle approach.
Here’s how we do it when we want the wall to look great afterward—and how you can follow the same steps at home.
🎯 What Makes Wallpaper Removal So Tricky?
Not all wallpaper is created equal. Some was installed with peelable backing. Some was glued on like it was never meant to come off. And in older homes, wallpaper may even be covering damaged drywall, patched seams, or layers of older paper.
The biggest risk? Damaging the drywall surface underneath. Once the paper face of drywall gets torn, repairs become more involved and paint doesn’t bond as well. That’s why removal needs to be as controlled as possible.
🧰 What You’ll Need:
-
Scoring tool or perforation wheel
-
Wallpaper removal solution (or mix of vinegar + warm water)
-
Spray bottle or garden sprayer
-
Wide putty knife or 6″ drywall knife
-
Drop cloths and painter’s tape
-
Sponge and warm water bucket
-
Optional: steamer, if dealing with vinyl or thick paste
-
Patience (and lots of it)
🔧 Step-by-Step: How We Remove Wallpaper Safely
1. Protect the Area
Cover floors and outlets. Wetting wallpaper is messy and paste can drip. Tape off trim and turn off power to nearby outlets if spraying water near them.
🛡️ Wallpaper removal creates more goo than dust—so towels and drop cloths matter.
2. Test a Section First
Find a corner or seam and try to peel it dry. Some modern wallpapers are strippable and will come off in large sheets. If it peels clean, great—you may not need any chemicals.
🔍 If the top layer peels but leaves a paper backing, you’ll need to wet and scrape that separately.
3. Score the Surface (Lightly)
If the paper doesn’t peel easily, use a scoring tool to perforate the surface. This helps your removal solution soak through and reach the adhesive underneath. Don’t press too hard—you only want to break the paper, not gouge the wall.
✂️ Over-scoring is one of the fastest ways to end up with damaged drywall.
4. Spray and Soak
Spray your wallpaper remover generously over the scored section. Let it soak for 5–10 minutes—reapply if it dries too fast. The goal is to soften the glue enough that the paper can be gently scraped away.
🧽 Work in small sections. If you soak the whole room at once, parts will dry before you get to them.
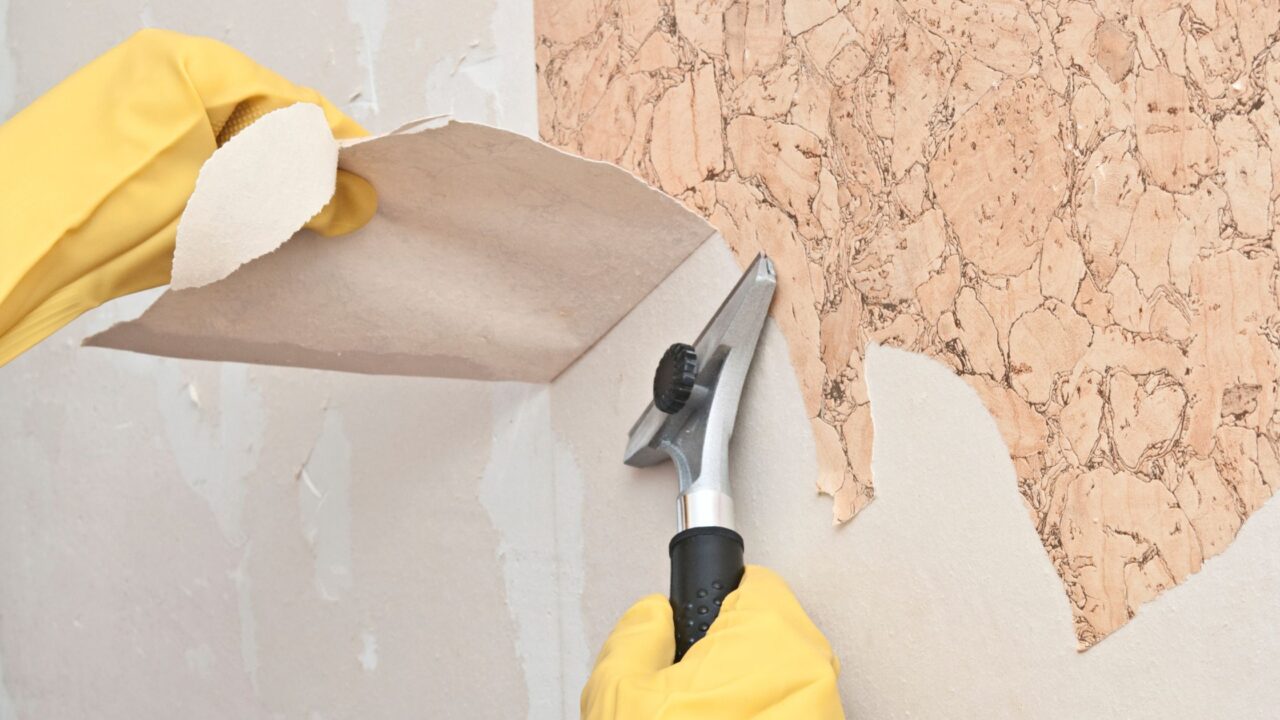
5. Scrape Carefully
Using your drywall knife, gently slide under the paper and lift it off. Don’t dig or force it—just find the angle where it wants to peel and let the glue do the rest.
🪚 If the paper starts tearing the wall surface, stop and rewet—don’t muscle through it.
6. Remove Residue
After the paper is off, you’ll still have adhesive residue on the wall. Wipe it with a sponge and warm water until the surface feels smooth, not sticky. If left behind, that glue will ruin paint adhesion later.
7. Repair and Prep for Paint
Once dry, inspect for any drywall damage. Torn areas may need skim coating or spot patching before priming. We always recommend priming the entire surface before painting—especially after wallpaper removal.
🎨 Paint won’t hide glue stains or torn paper—it’ll highlight them.
⚠️ Common Mistakes to Avoid
❌ Rushing the Soak Time
Patience is key. Most damage happens when people try to scrape too early or force stubborn areas.
❌ Using Metal Tools Too Aggressively
Metal drywall knives are helpful—but too much pressure and you’ll gouge the surface underneath.
❌ Skipping Glue Removal
Even if the wall feels dry, leftover adhesive will ruin your primer and paint. Always wash it down.
❌ Painting Without Priming
After wallpaper, walls are thirsty and inconsistent. Priming ensures the paint goes on evenly and bonds properly.
💡 Final Thoughts
Wallpaper removal isn’t complicated—it’s just a process that rewards patience and attention to detail. With the right prep and a gentle touch, you can get clean walls that are ready for paint.
But if your walls start tearing, the adhesive won’t budge, or you’d rather save your weekend for something else? That’s when it’s smart to bring in someone who’s done it dozens of times—and can get it done clean, fast, and ready for whatever comes next.

Scan to join our Loyalty Program, get a free coupon for your next service, and stay up to date on our services and articles.
Affiliate Note
Some of the links in this article may be affiliate links. That simply means if you choose to buy through them, I may earn a small commission at no extra cost to you. I only recommend products I trust and would feel comfortable installing in my own home or a client’s home.
If you try something I recommended and it turns out to be anything less than a five-star experience, please let me know. I always want these recommendations to be genuinely helpful.